BI Charts
The Charts component in Timbr is part of an embedded BI component that allows users to create visualizations using various charts and share them with others.
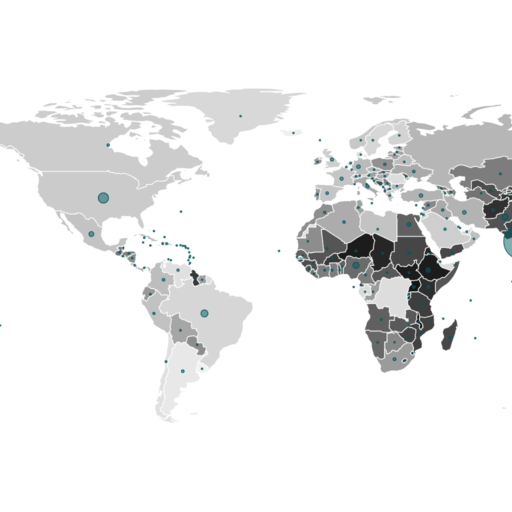
Charts can be based on the physical tables, semantic models, or Timbr system tables to analyze data or monitor the activity in the Timbr platform. The charts can also be added to interactive Dashboards.
Getting started
The charts component in charge of creating and editing knowledge graph charts, can be accessed through the Visualize tab as well as the Ontology Explorer and SQL Editor when wanting to visualize a specific concept or query.
When entering through the Visualize tab, a list of all the previously created charts will appear.
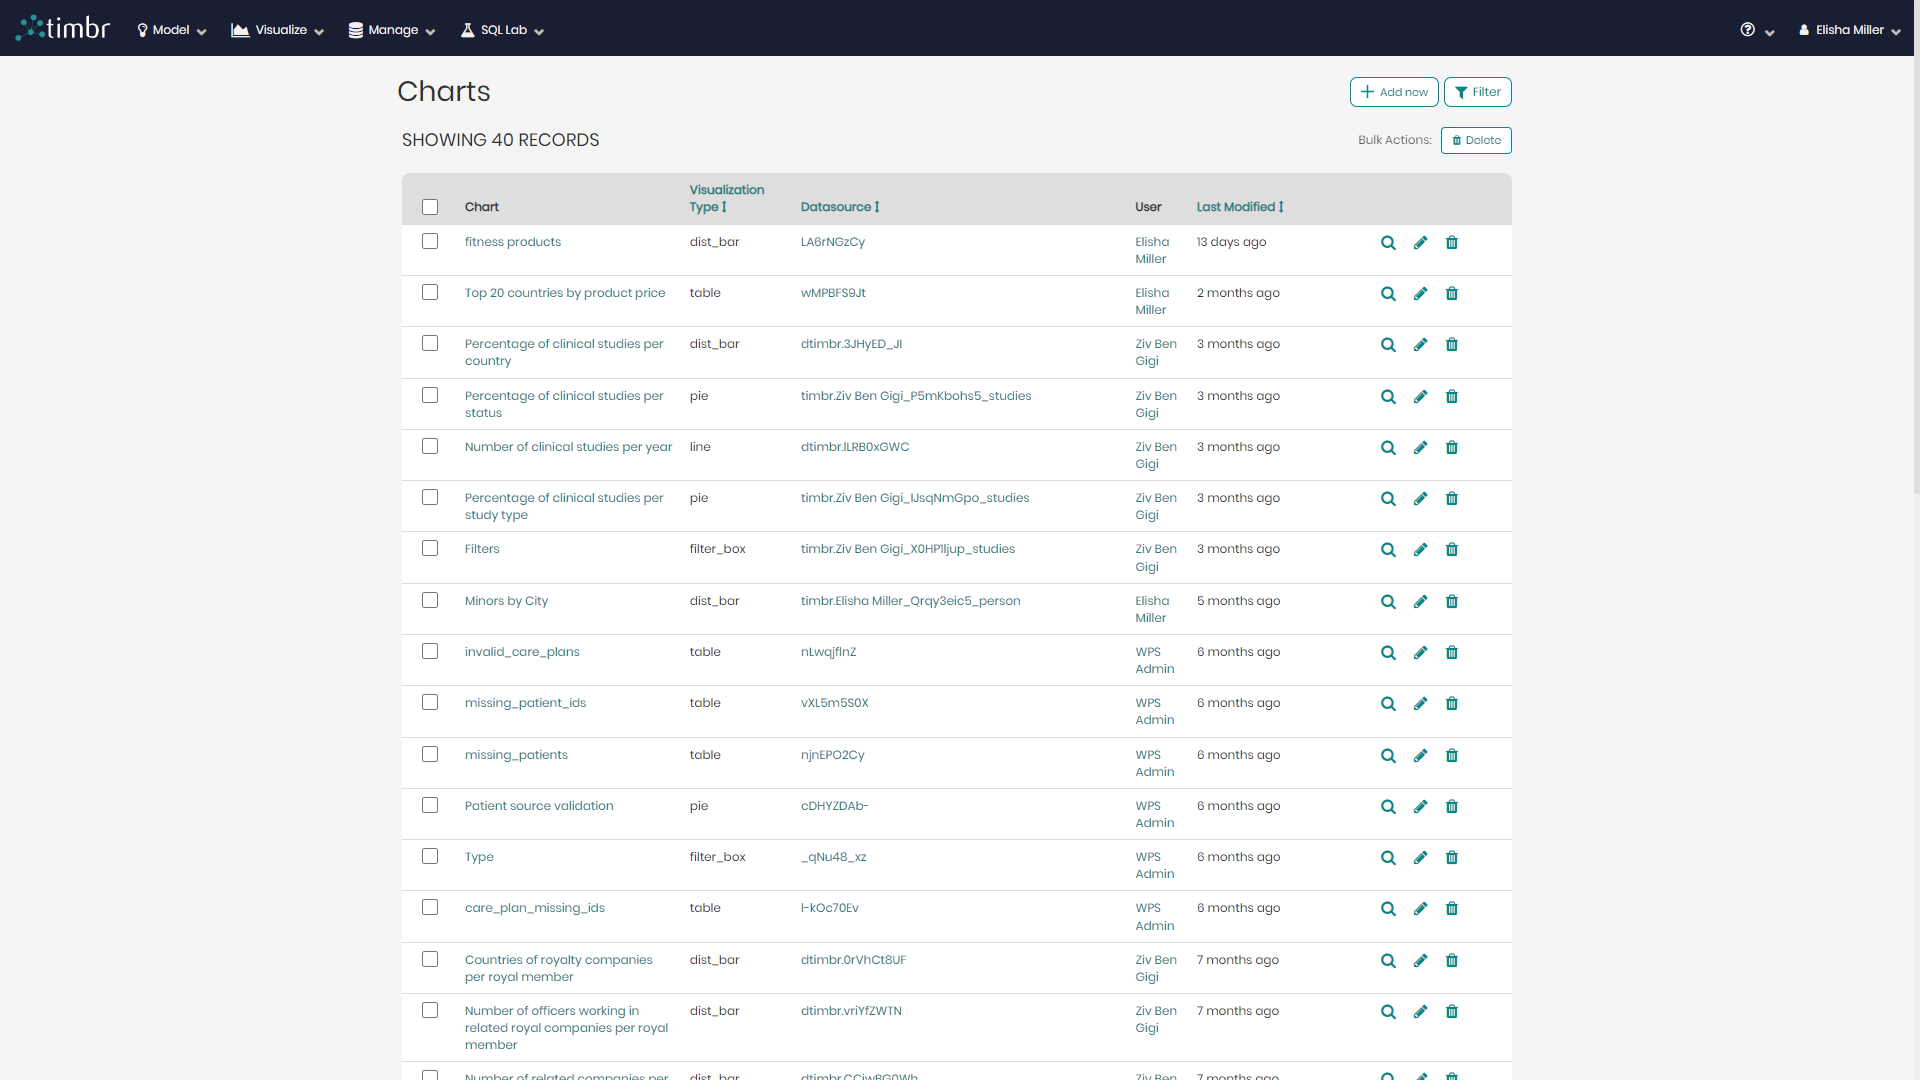
Each chart name will appear with the visualization type, datasource, user and last modified date appearing to its right. Further down the line users have the following three buttons:
- Magnifying glass - Opens additional information about the selected chart.
- Pencil - Opens an edit chart window to edit the different specifications and parameters of the selected chart.
- Trash can - Deletes the selected chart.
![]()
Above the three buttons are the following options:
- Add new - Opens a window to create a new chart.
- Filter - Enables users to filter through the list of charts in order to locate them faster and more conveniently.
- Delete - A bulk action that deletes all the highlighted charts selected by the user.

BI Charts Components
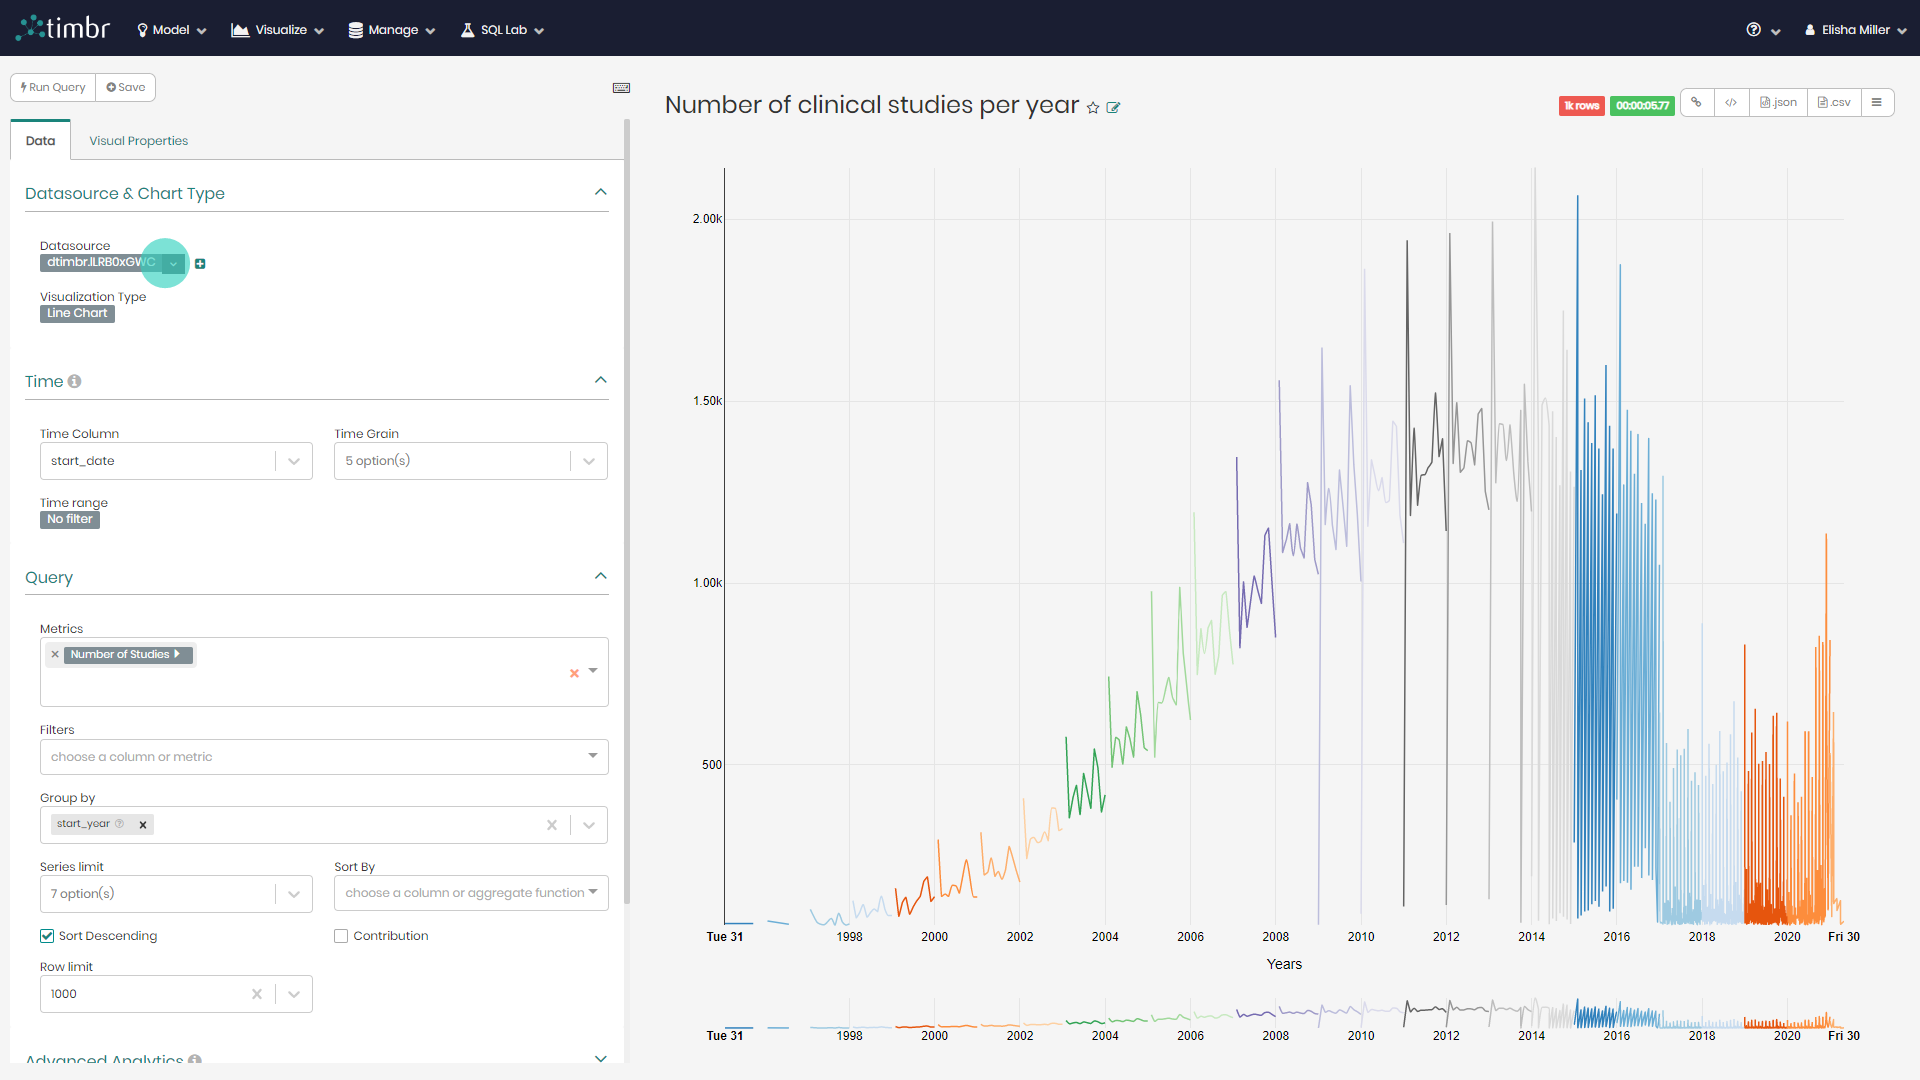
Once a chart is selected or created from scratch the main chart creation and editing page will appear containing the following components:
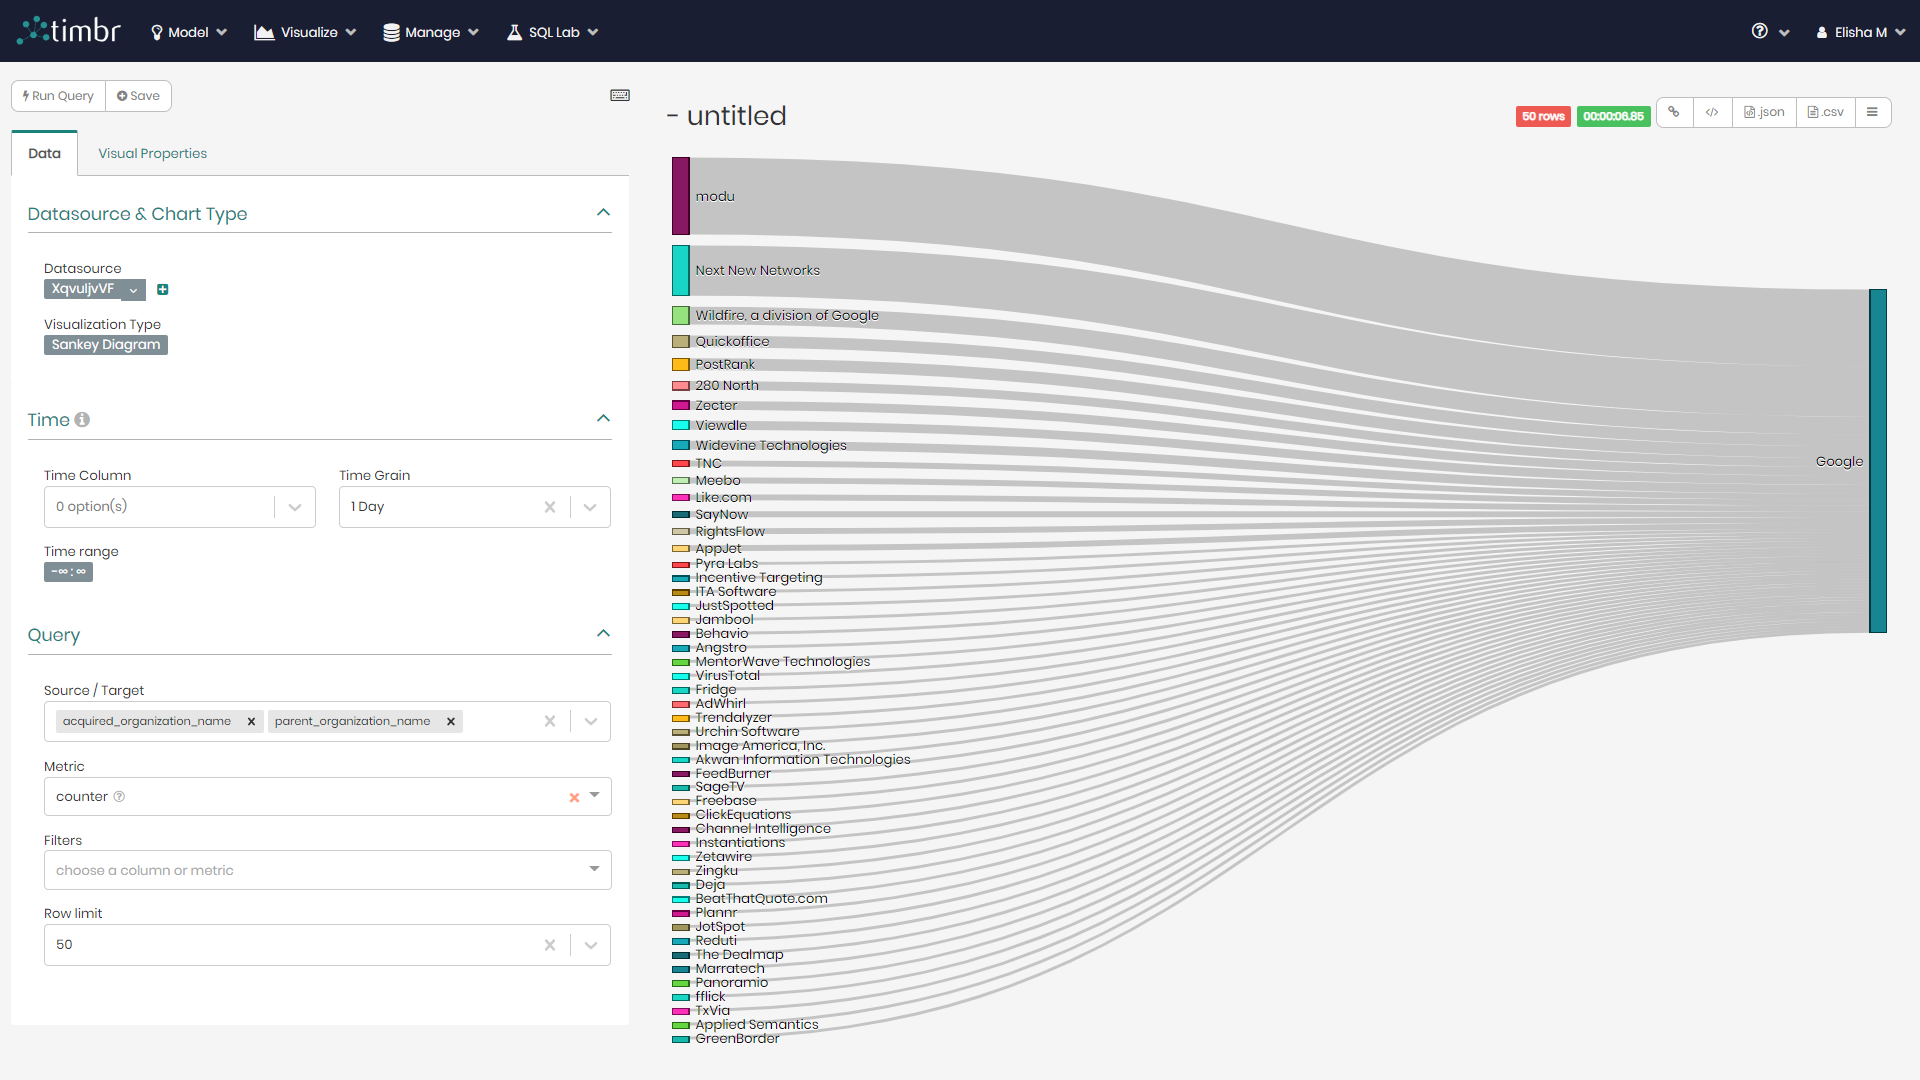
Main Chart Box
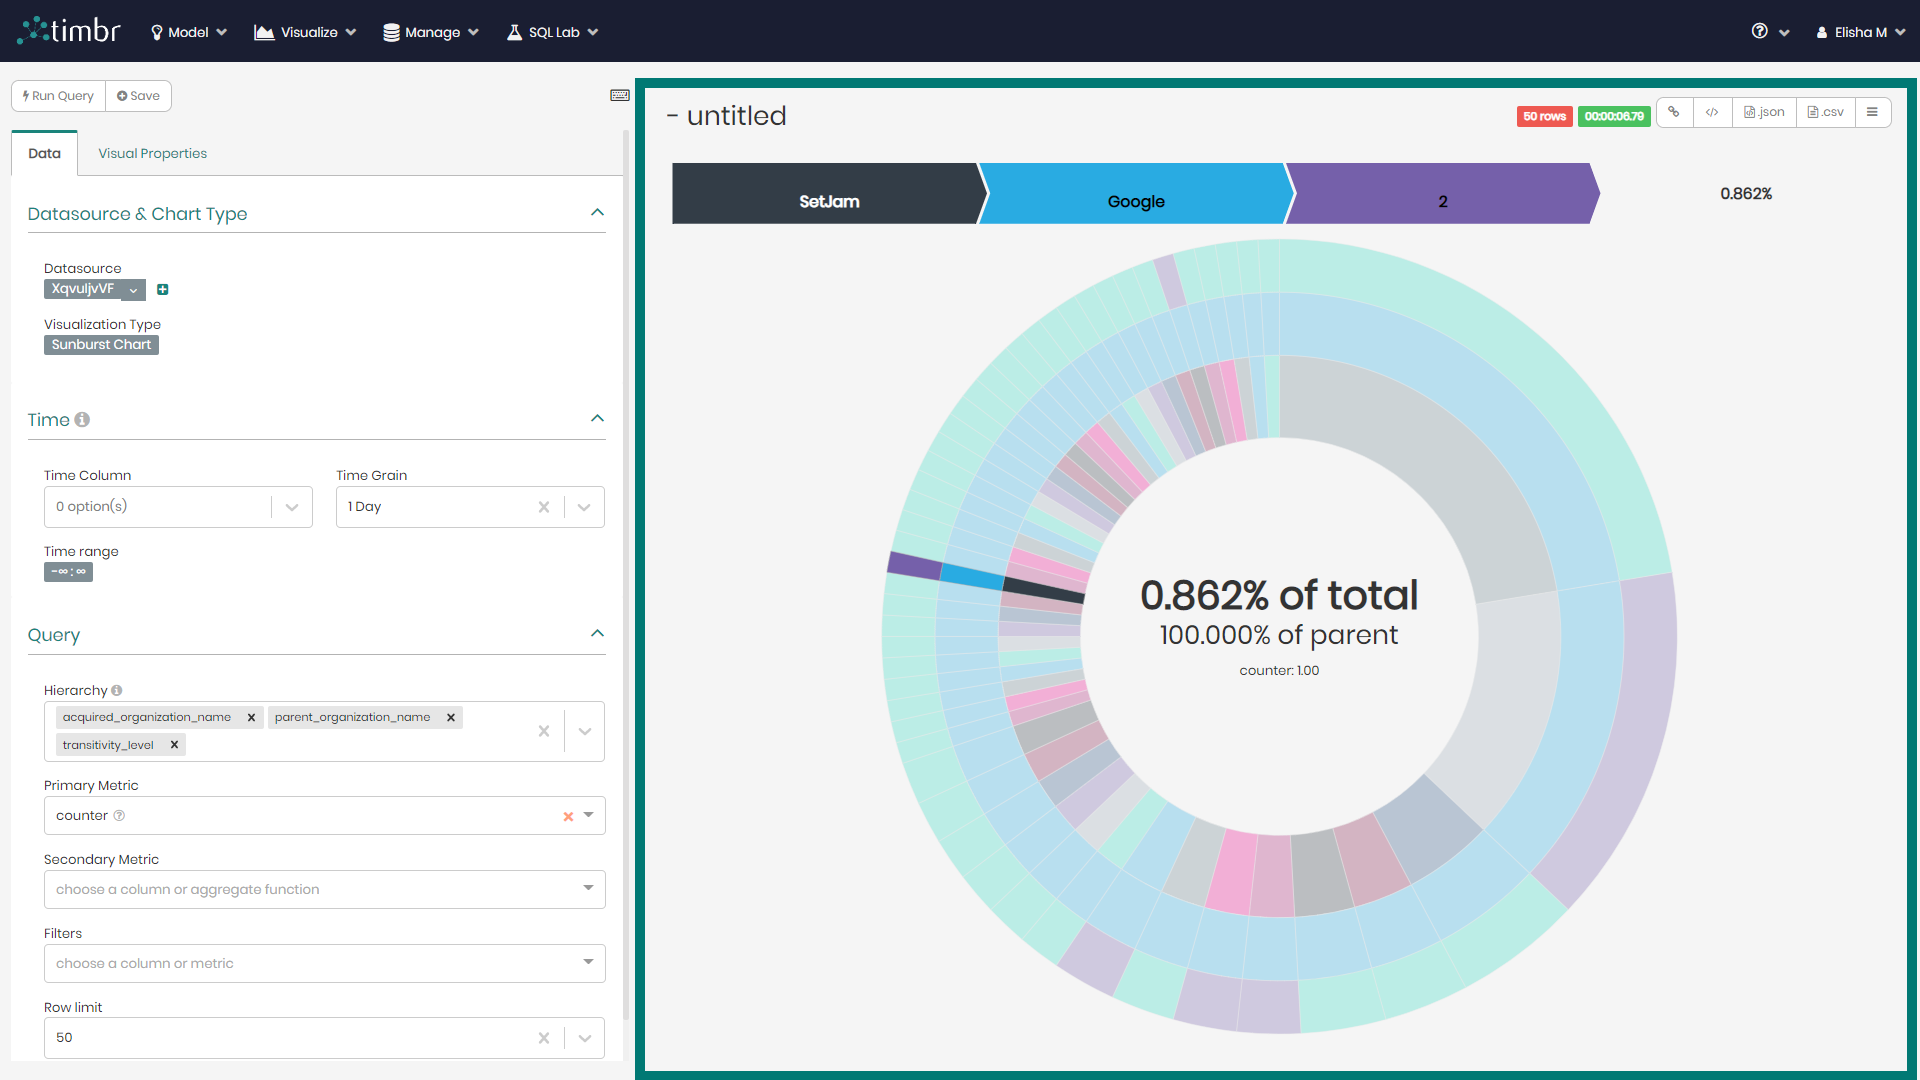
The main chart box is the space where the created charts are represented and interacted with. Charts can be hovered over and clicked on to create desired viewing filters.
On the top left portion of the main chart box, users can give a name to their current chart.
On the top right portion of the main chart box, users can find the following options:
Row counter - Shows the number of rows used to present the current chart.
Query timer - A timer showing the amount of time it took to run the query that’s representing the chart.
Share - Generates a URL link that can be copied or shared with anyone via email.
Iframe edit - Enables users to edit the iframe code as well as change the height and width representing the chart.
Export to JSON - Exports the current chart as a JSON file.
Export to CSV - Exports the current chart as a CSV file.
Export to CSV - Exports the current chart as a CSV file.
More options - additional options which include:
- View query - Presents the SQL query behind the current chart.
- View results - Presents the current charts results in a table format.
- View samples - Presents additional sample results in a table format related to the current chart.
- Run in SQL Lab - Runs the SQL behind the current chart in Timbr’s SQL lab.
Chart Query Builder Panel
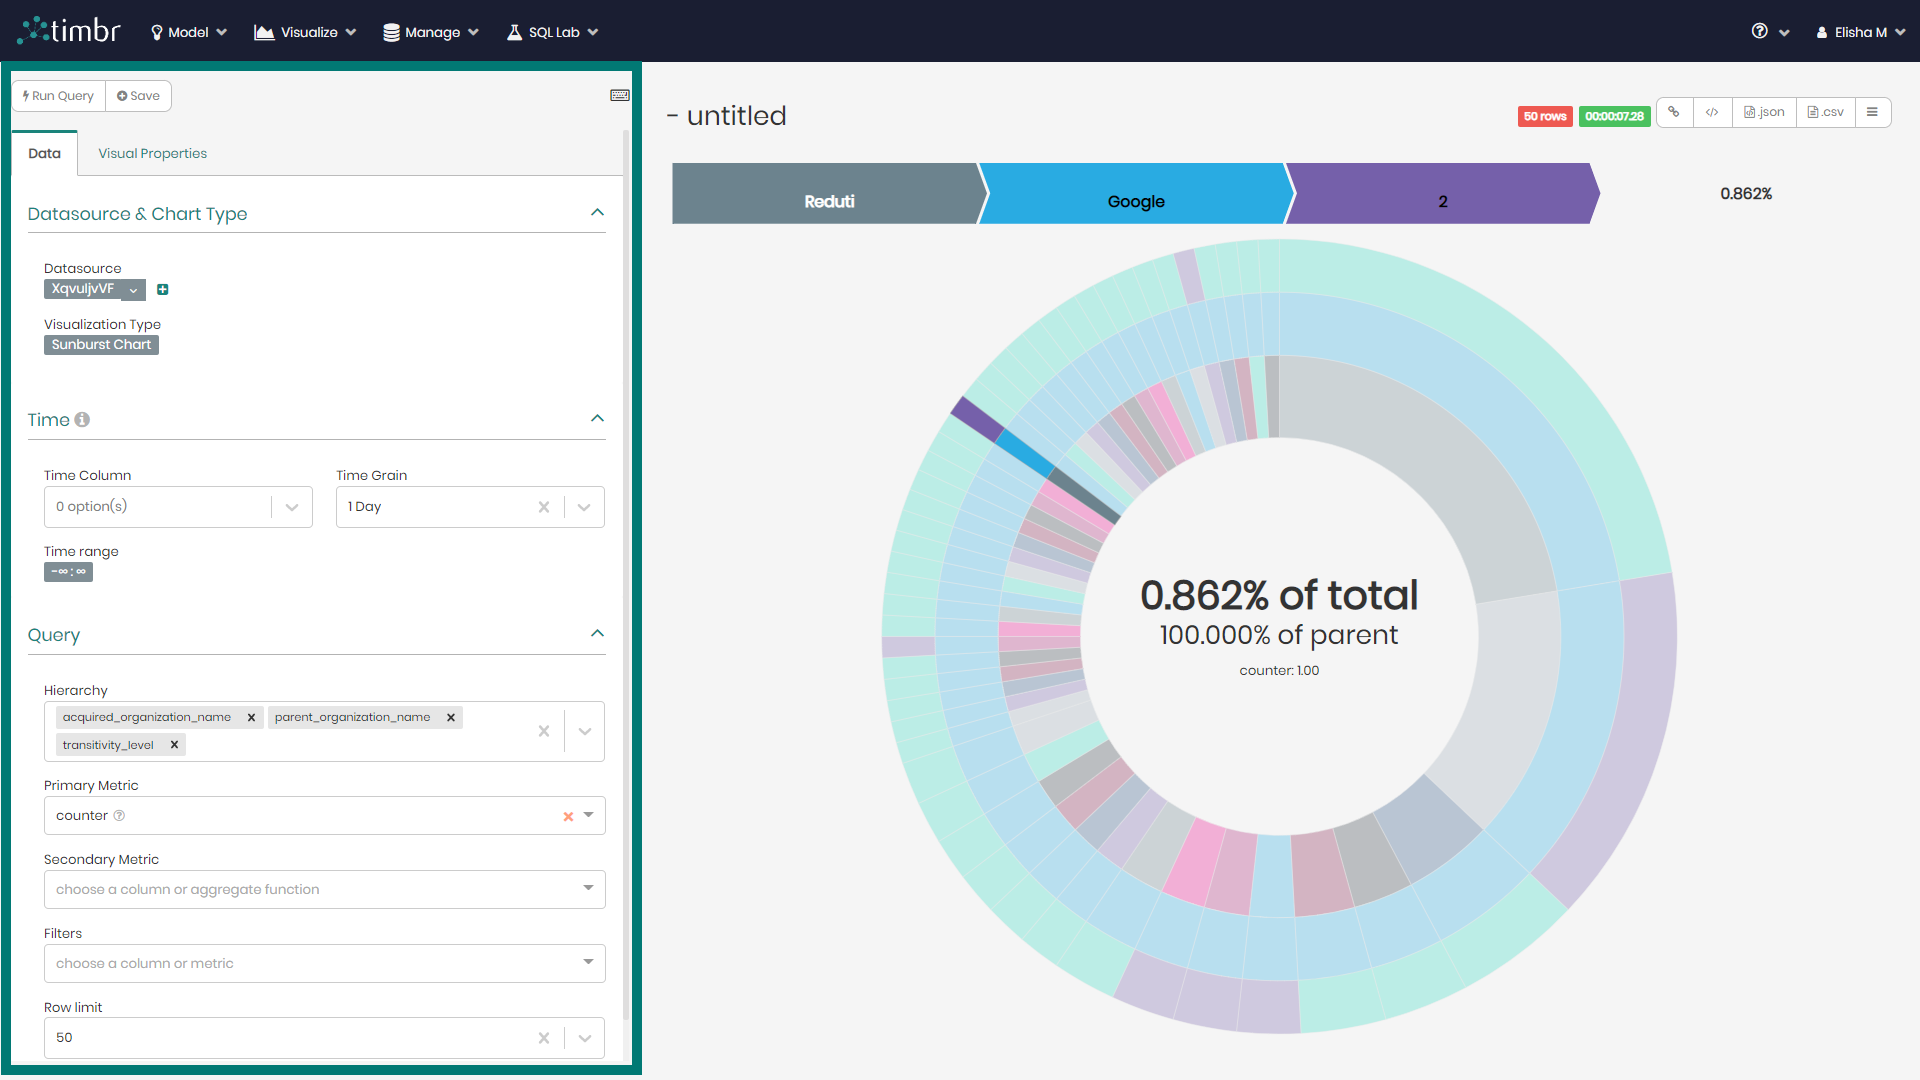
The chart query builder panel is where users edit the metrics and data behind what will be presented in the charts that will be viewed to the right in the main chart box.
On the top right of the panel, users can find keyboard shortcuts to help run and save the charts in a faster manner.
On the top left of the panel there are two buttons which are:
Run query - Runs the query that builds the chart once we’ve entered the desired metrics.
Save - Naming the chart and saving it with the following options:
- Do not add to dashboard - Users can save the chart which can later be found under the saved charts, without adding it to a dedicated dashboard.
- Add chart to existing dashboard - Saves the chart and adds it to an existing dashboard that can be selected from the dropdown menu.
- Add to new dashboard - Saves the chart and adds it to a new dashboard with a new given name.
Beneath Run query and save, there are two tabs which are Data and Visual properties.
The Data tab is where all the metrics and edits are made on the data that create the charts and depending on the chart type can contain the following sections:
Datasource & Chart Type
This section contains the following two parts:
Data source - Here users can view and edit the current datasource chosen to build the chart. By clicking on the datasource users can enter the datasource editor and edit the different datasource settings as well as edit the data columns and metrics.
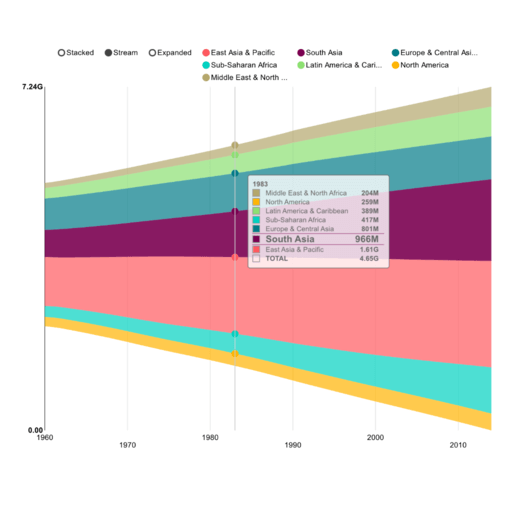
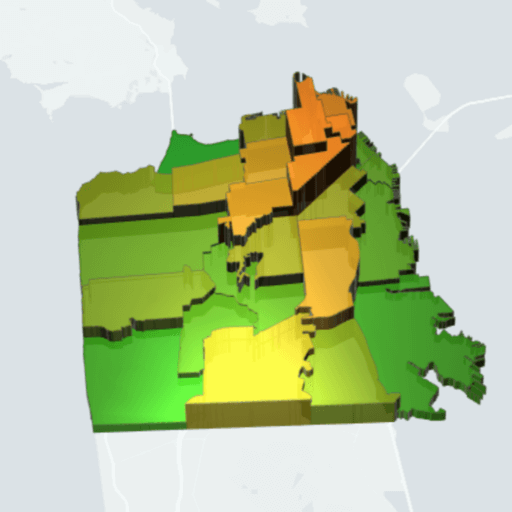
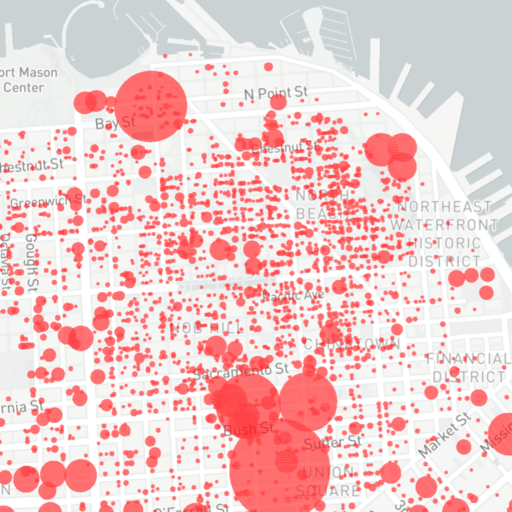
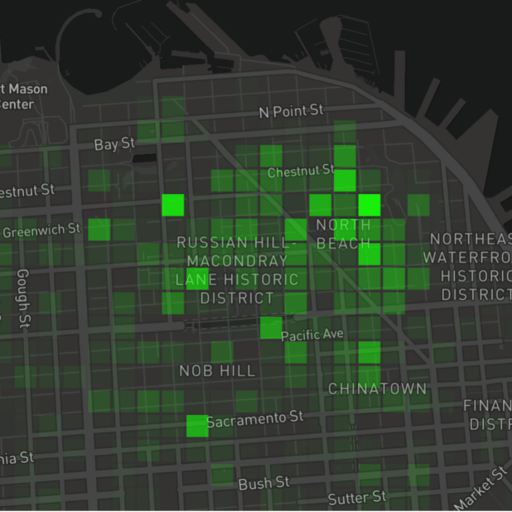
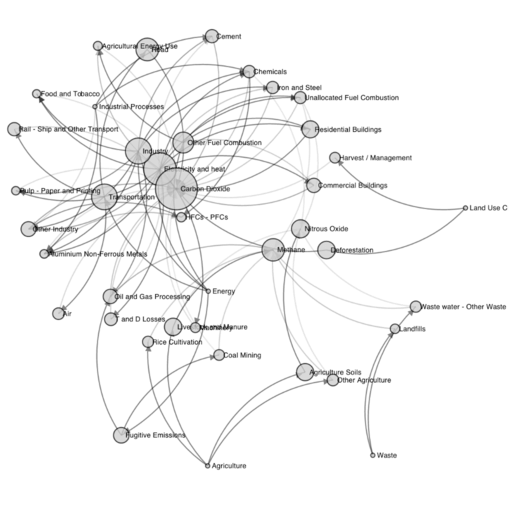
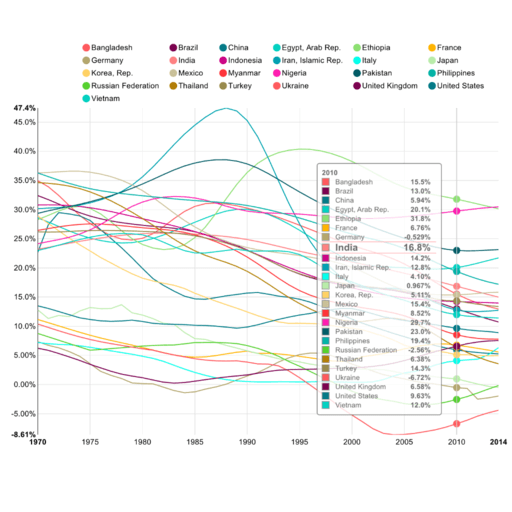
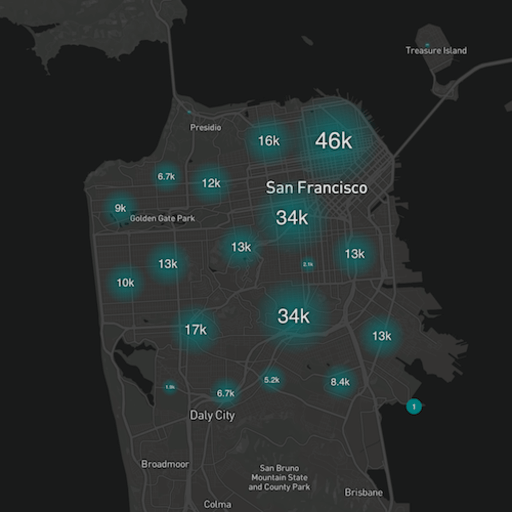
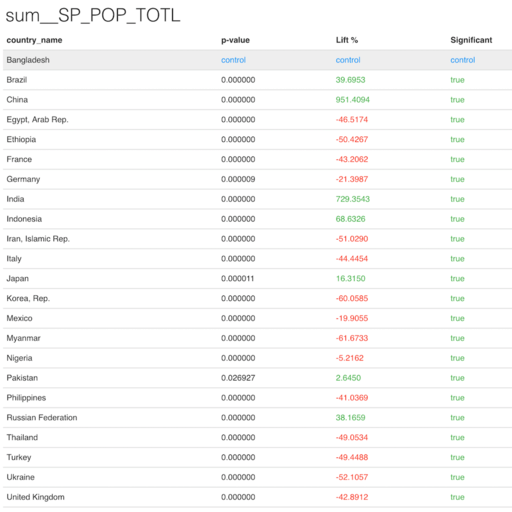
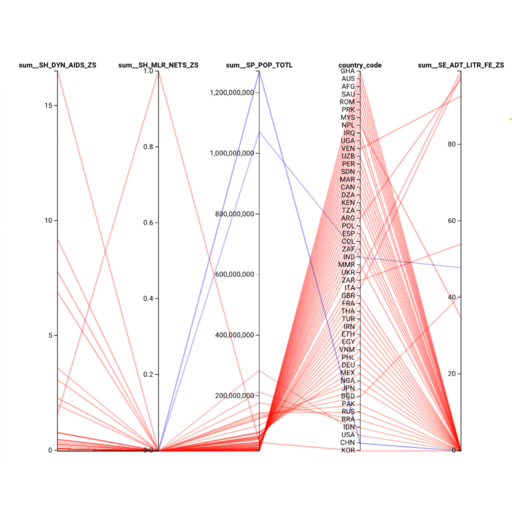
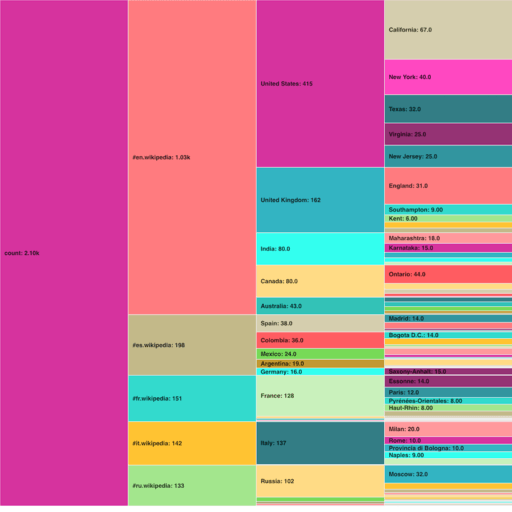
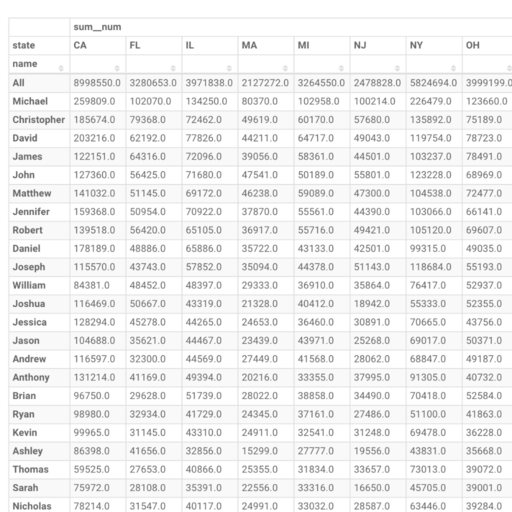
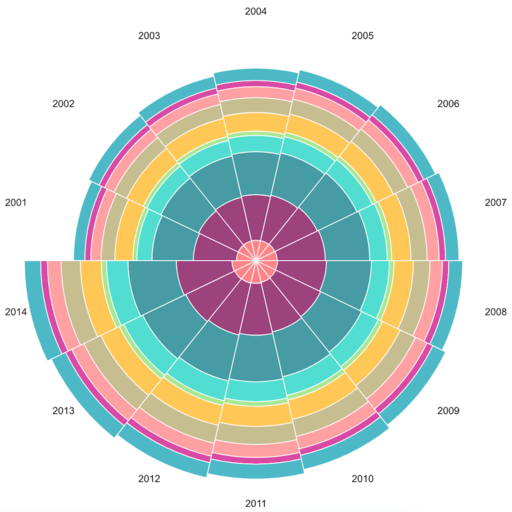
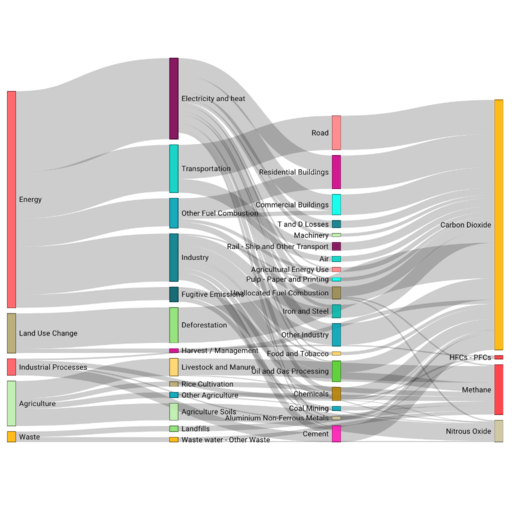
Visualization Type - Opens a window where users can choose the type of chart visualization to display. Timbr offers the following visualizations:


Time
In this section, users can enter the metrics related to charts that contain time parameters.
Query
The Query section changes based on the visualization type chosen, though this is generally where users will enter metrics and parameters such as group by, sort, filter, series, etc.
Chart Options
Some visualization types will include this section which will add some additional editing options to the chart.
The second tab in the chart Query builder panel is Visual properties which includes the following section:
Chart Options
Some visualization types will include this section in the first tab while others will add it here in the second tab. This section will add additional editing options to the chart such as the ability to edit the chart colors, add legends, bar values, rename X and Y axis and more.
Modifying Chart Datasource
Users can perform different modifications to the datasources used to create their charts, this includes access control and additional settings.
Opening the charts edit datasource window can be done by choosing the desired chart and clicking on the datasource that appears in the Data tab, under Datasources & Chart Type.
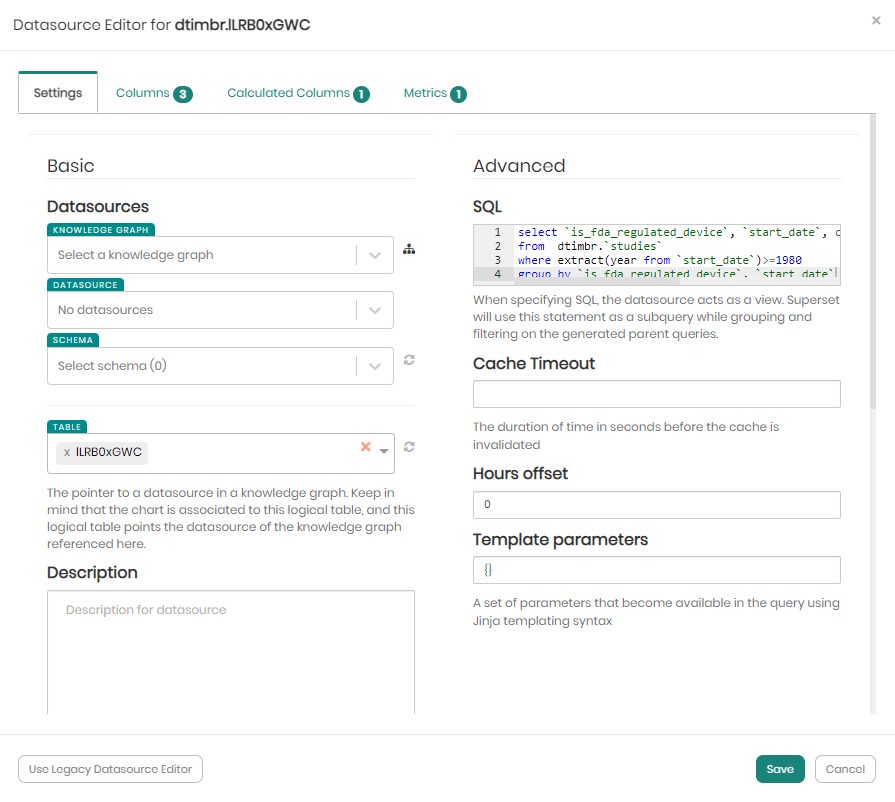
In the popup window that appears, there are four tabs which are:
Settings - In the Settings tab, users can find the main datasource settings, both the basic settings and the advanced settings.
Basic Settings - In the Basic Settings on the left, users can study their datasource and other data sources more in-depth. When scrolling down, users can also add a default URL to their datasource, they can add autocomplete filters or autocomplete query predicates, and they can choose who the owners of the datasource will be.
Advanced Settings - On the right side in Advanced Settings, users can edit the SQL query behind the chart, creating a view out of the datasource, users can also edit the duration of time before the cache times out, they can enter the offset in hours, and finally, users can set parameters using Jinja templating syntax.
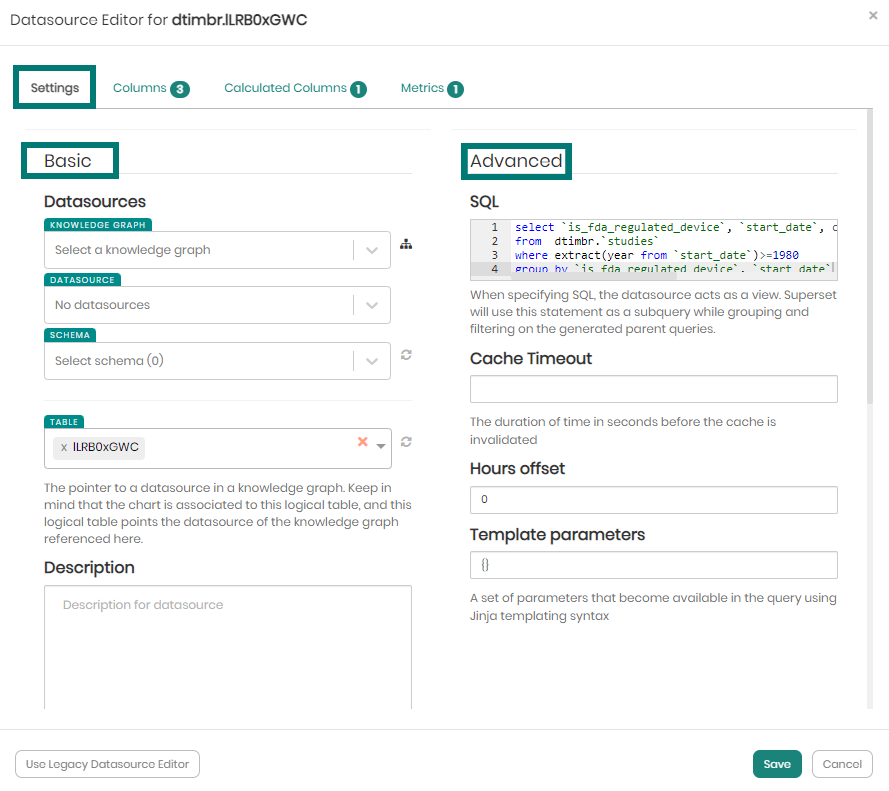
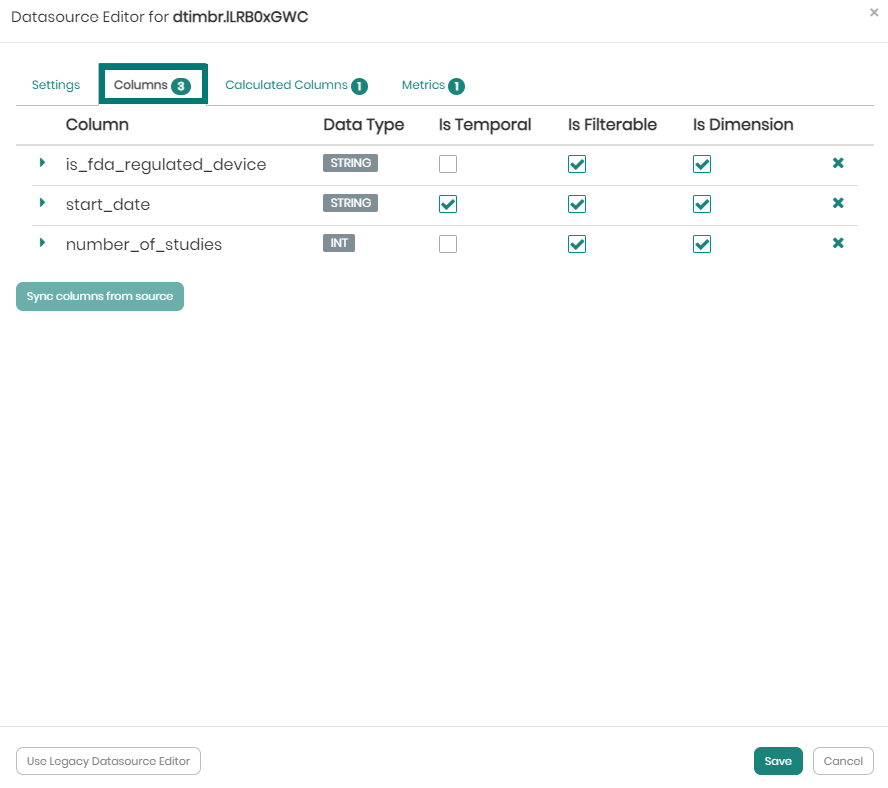
- Columns - In the Columns tab, users have the ability to edit the different characteristics of the datasource columns including their label, description, format, and their expression in the database.
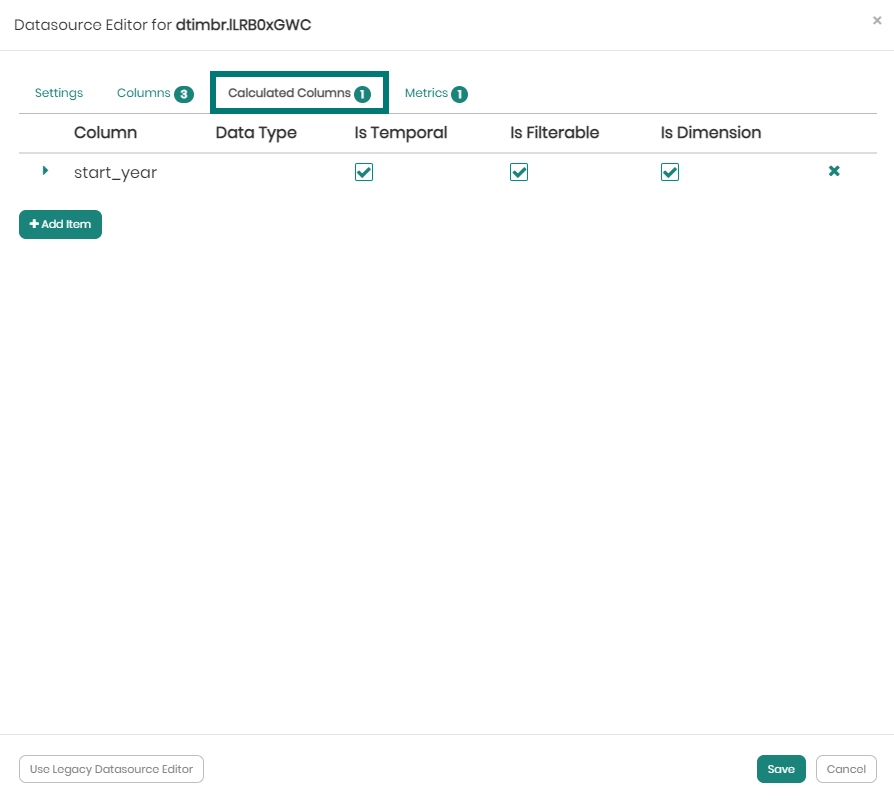
- Calculated Columns - In the Calculated Columns tab, users can click to add new calculated columns to be represented in their charts.
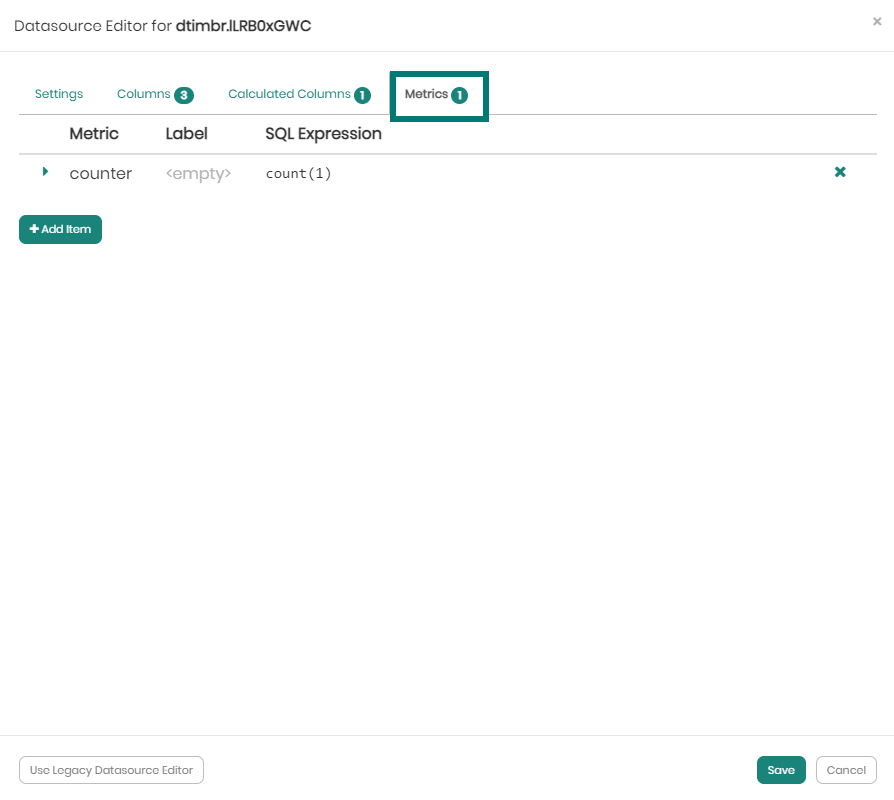
Metrics - In the Metrics tab, users will be presented with all the metrics they currently have available to them, and will be able to click and create new metrics to be used in their charts.
Once changes are made, Save must be clicked on the bottom right of the window in order to save all the changes.