Sisense
Connecting Sisense to Timbr
Open Sisense
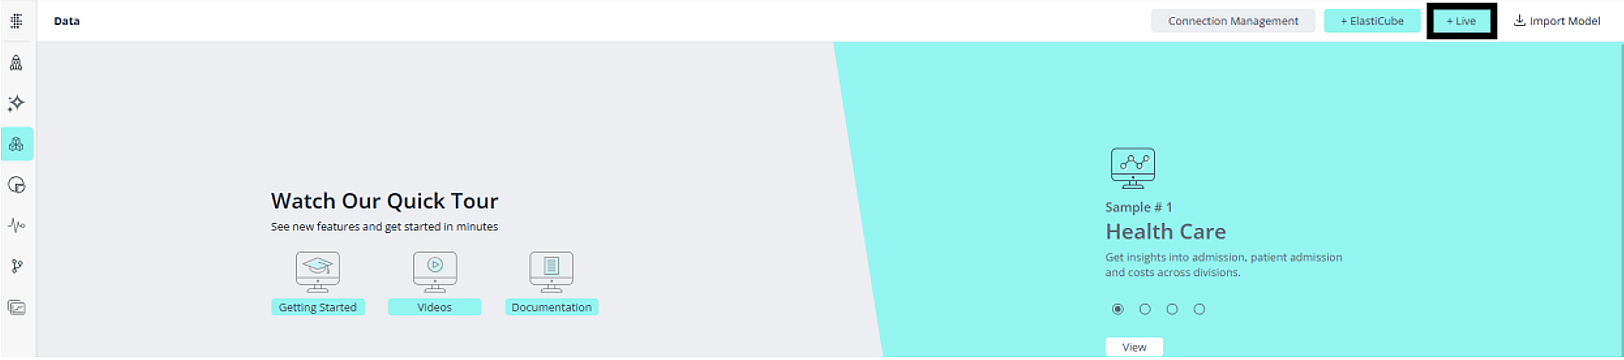
Select Live as the connection type under "Connect and Model Data."

- On the Data page, click + Live in the top-right corner to create a new Live model.
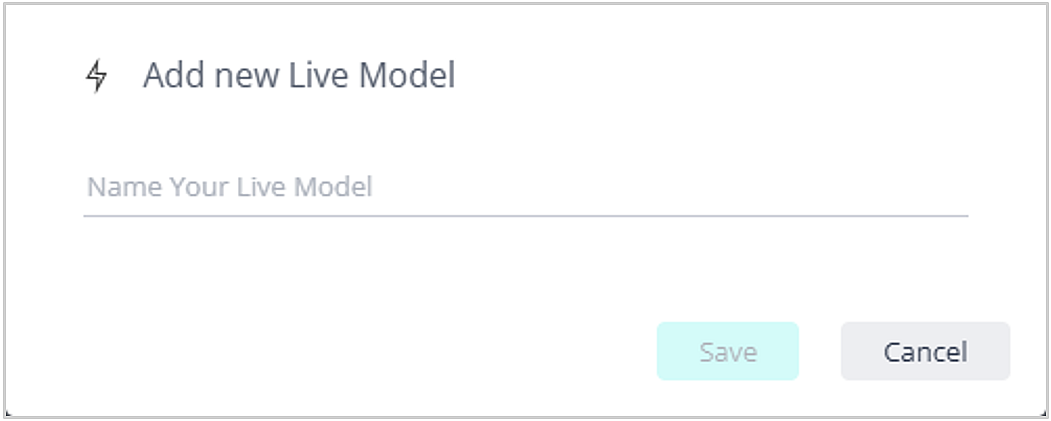
- Name your model and click Save.
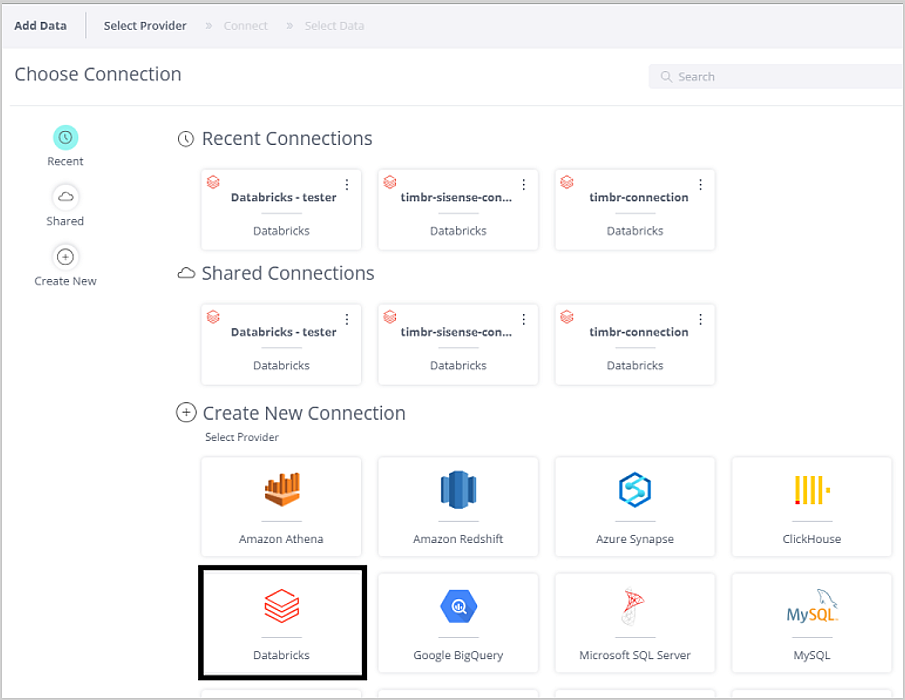
- Click + Data in the top-right corner of the empty model to add a data source.

- In the connection window, scroll down to "Create New Connection" and select Databricks.
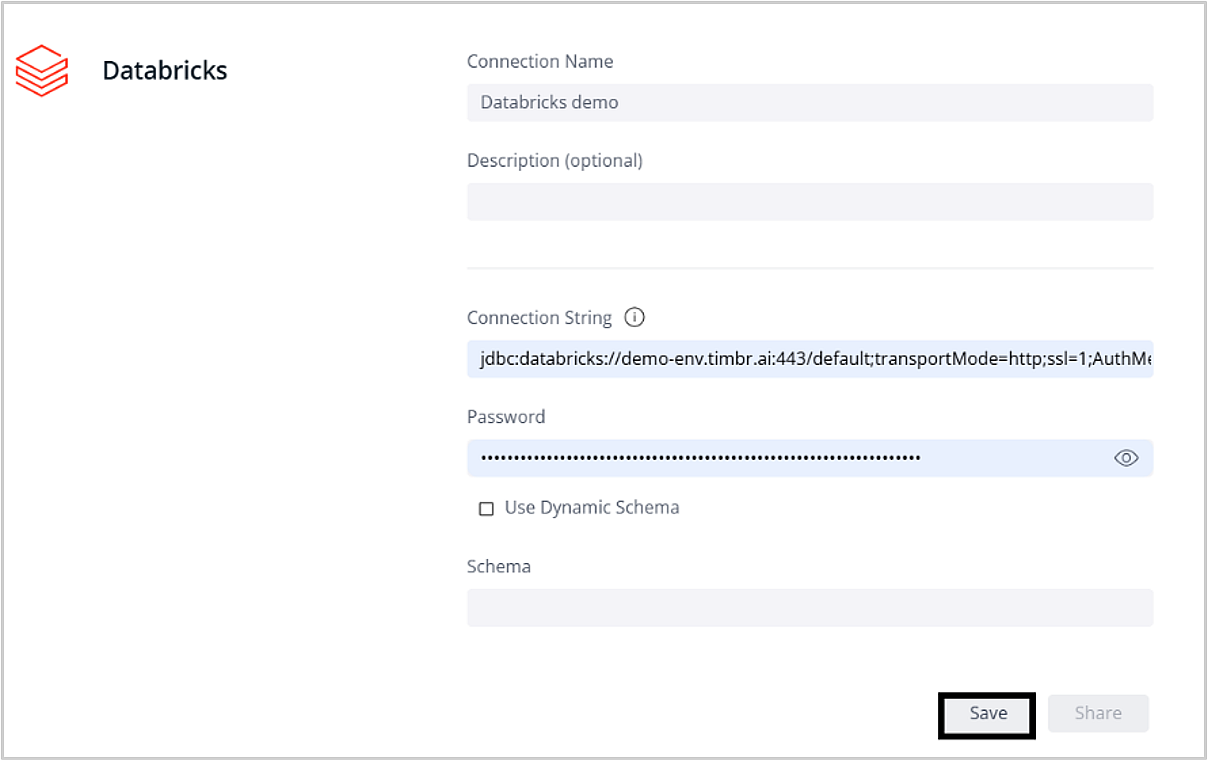
- Fill in the connection details as follows:
Connection Name:
- Enter a name of your choice.
Connection String:
- Enter the JDBC connection string for your Timbr instance. Replace the hostname and ontology name with your own values:
jdbc:databricks://<hostname>:443/default;transportMode=http;ssl=1;AuthMech=3;httpPath=/sql/protocolv1/o/databricks/ontology/<ontology_name>;
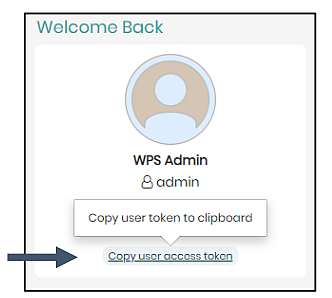
Password - Timbr User Access Token:
- To get your token, open your Timbr instance and click Copy user access token on the welcome page. Paste the token into the Password field.
- Click Save, then Continue.
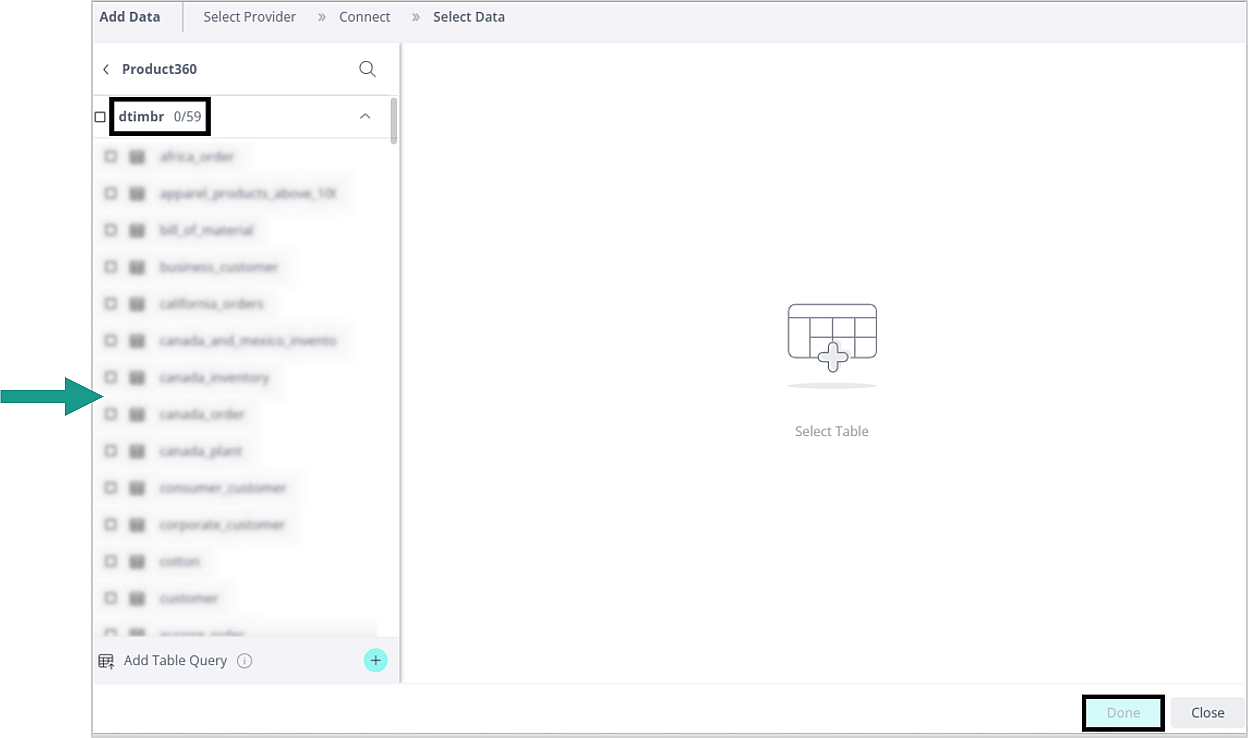
- Select your tables. You will see all the tables available in your Timbr ontology.
Notice
Make sure to select from the dtimbr schema. This is the schema that contains all of Timbr's concept relationships and measures. Once selected, click Done.
- Click Publish in the top-right corner to make the model available for dashboards.
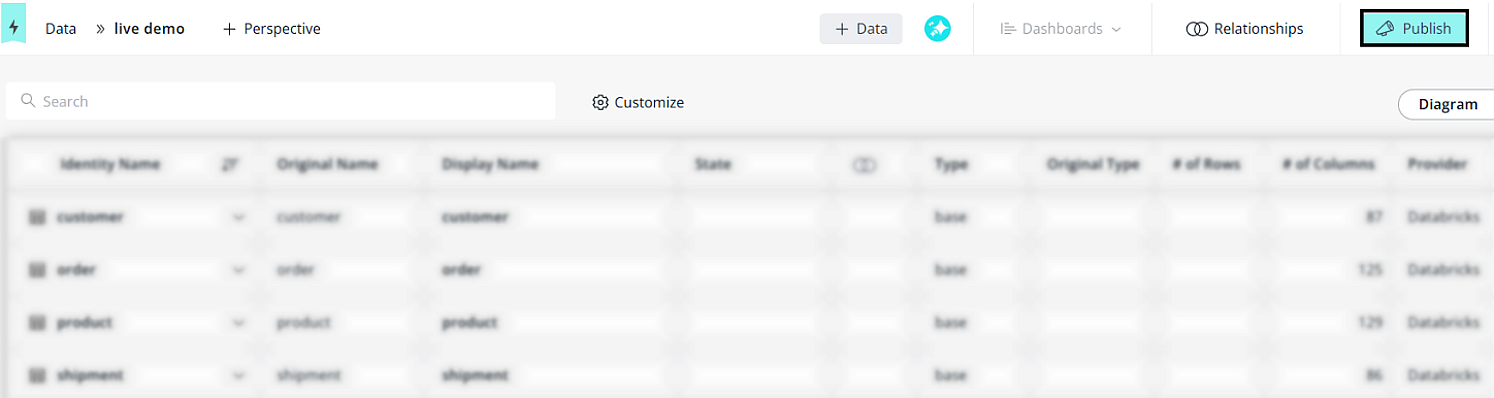
- You’re ready to use the concepts and their relationships as virtual tables for your reports and dashboards!